Pin It button on image hover
Showing posts with label Harebell Butterfly. Show all posts

Monday, 29 August 2022

Inky Inspiration by Natalie

So, this blog piece is actually three in one; August has been a mad month in both good and bad ways. Here, are my three projects all in one go for this month's blog.

Inky Background 1

This project is all about cartridge paper, which often gets overlooked in our stamping. It is a great way of adding layers without bulk, and is much easier to fussy cut.

Start with an A6 piece of cartridge paper, ink up with Saltwater Taffy Distress Ink and Weathered wood using a large blending brush. The paper is easily saturated so allow it to dry completely naturally. Once dry, tear it into two at roughly a third of the way down. Adhere to a piece of stiff card with a gap between the pieces. Trim this to a tag shape. Again, allow any wetness to dry and then brush around edges with more Saltwater Taffy.

Onto another piece of cartridge paper stamp two butterflies and flower bud, using Prize Ribbon Archival ink; such as these from Harebell Butterfly. Add a touch of watercolour using Saltwater Taffy squeezed onto your glass mat to your butterflies. Set aside to dry. Onto the next piece of cartridge paper, stamp the diamond background pattern using Weathered Wood. Tear a small strip to form the top section of your tag.

Adhere the diamond background piece to your tag. Next, ink up a couple more stems with Prize Ribbon Distress Ink and spritz with a light coating of water for an instant watercolour look. Stamp onto your tag directly and allow to dry. You can also add a smaller stem in Saltwater Taffy.

Going back to your Prize Ribbon Archival ink, stamp the herringbone ribbon from Making more Marks at the centre top of the tag and at the bottom left hand edge. The cotton thread stamp from the same collection looks great stamped in Saltwater Taffy as a finishing touch to your stamping. Add a pink toned eyelet to finish your tag.

Optional: Adhere your tag to your card, doodling a thread for it to hang on either vertically or horizontally. I used a blue fineliner to complement the colours used in the tag. 


Using ink as a guide

This project is all about your ability to write an x. If you are looking for a mindful project, this is the one for you. Grab your coloured pencils, turn on the zen music of your choice and focus on those x's.

Start by stamping the grid image from Small Graph Paper using a brown ink of your choice. You want to get this as clear as possible without looking too perfect. Over the top, stamp the O from O is for... in a pale ink that is just dark enough for you to see the edges of the tree detail.

Next, start by "colouring" in the O with a dark brown pencil drawing an x to every square wholly covered in ink, or use a half stitch, quarter stitch or ¾ stitch around the edges. I found it easier to do the colouring this way round. You then want to use different shades of green to make the tree canopies pop along the a different shade of brown for the trunk. Finish with the green of the hills.

Inky Background 2

This card uses the images from Thistle Butterfly by stamping wet in wet.

Start by creating a splodge background by applying your dye based ink to your glass mat or blending mat. Spray watercolour card with water generously and place into the ink multiple times to pick up colour. To add stronger colour, ink up one of the stamps with the same ink and spritz lightly with water to stamp wet into wet. Allow the colour to bleed into the still wet background by holding slightly longer in the stamp.

Heat dry and stamp with the same ink using the dandelion image in green archival ink around the outside. Add watercolour to the buds of the dandelions and a little warm yellow to the tips. Stamp your main image the same way and colour with the same ink as your background to make the image feel like a field of the same plant.

Mount to a white card base and create a border around with a fineliner. Stamp your sentiment onto a spare piece of card. Trim and add a border of green card. Adhere your sentiment and voila!
 

Tuesday, 16 August 2022

Harebells And Notelets


This is my second post this month for the shows that were in July, using some really gorgeous stamps.
My first make is a notelet set, I do enjoy making the notelet sets,  I used several stamp sets for this project, I used Harebell Butterfly, Honeysuckle Butterfly, Briar Rose Butterfly and Thistle Butterfly.  I started by creating the box to put the notelets in and as you can see used the Harebell hero (main image) stamp for the front, the notelets are made using a worker (smaller) stamp from each set.  I masked the edges of the cards off, then using three colours of Distress oxides did an ombre background, I stamped the images in the centre, then matted and layered each card.  For the envelopes I took a circle mask and added some ink to each corner of the envelopes. I then stamped one of the worker stamps over the top.


I absolutely love this image from Harebell Butterfly set that I used for my second creation, I started this one by stamping my image then using Distress Oxide and a stencil brush I added some ink around the image, I coloured the image using Aqua pencils then adding water to blend.  I very lightly drew with a pencil a rectangle with a ruler to frame it.  I went around the pencil line free hand so's not to have an exact straight line with a fine liner.  Using the Oxides I did a matching backing paper to matt and layer on.

Thank you for looking, I will be coming back at the end of the month with a couple more samples.

Happy crafting

Tracy x

Friday, 12 August 2022

Scaling Up Those Little Projects (by Judith)

Hello everyone, I hope that you are keeping well. I have a few projects to share with you from last month's TV show on Create and Craft, showcasing some of the beautiful floral butterfly stamps that we had on the show. 

I like to make a few quick cards when I can, they are so handy to have in my stash when I need a card in a hurry. I also like to make a batch of them, several at a time, so that I can give them as a gift, or just to build up a store of cards to use later. I love to make little 4" x 4" cards, they are a lovely size to create and to give as gifts. I created two different types as demos on the show last month, and here is how I created them:

The first card was created using a piece of Drawing Cartridge just slightly smaller than 4" x 4". I swiped some Distress Ink onto an acrylic block, (green and blue), and spritzed it with water. I placed the Drawing Cartridge onto the block, and then peeled it away, to get a watercoloured background. I left the background to dry naturally. I stamped the daisy image from Honeysuckle Butterfly twice onto the background, using black ink, and added a butterfly. I also added some foliage from the same stamp set using green ink in first and second generation stamping, to give the impression of a field of flowers. I varied the height of the foliage. I coloured the flowers and butterfly with pencils, using a simple palette of pink, yellow and green. I edged the background with turquoise ink.

To create my second quick card, I selected a piece of black and white paper created by Lesley, which I cut down to size. I added sponging with green and purple inks to create hills, and pink or orange ink around a circle mask to create the impression of a sun, (a technique that was inspired by the lovely Jean Hardy). I used Versafine Clair ink in various colours to stamp foliage from the stamp sets, and added a butterfly which I coloured in co-ordinating colours.

These little cards are lovely in their own right, but I wanted to show you that they could also be used as larger cards too. I created backgrounds for both of these cards very quickly using the butterfly on the card to pull everything together. For the first card, I used the blue and green ink as before to create a Distress Ink background, as you have seen me create so many times before, and then I simply stamped the butterfly randomly over the top in turquoise and green ink. I edged the background in the turquoise ink as I had done with the smaller card. It makes a really pretty large card suitable for any occasion, just add a suitable sentiment, or leave it blank and add a sentiment inside.


 For the second card, I used a piece of grey card, and added the butterfly stamped with pink and orange Versafine Clair, it's an unusual colour combination, but really pretty, just the same.


 I hope that I have given you lots of ideas for these lovely stamps, thanks so much for stopping by,


Take care,


Judith xx

Wednesday, 3 August 2022

Butterflies Galore by Sandra

 Hello, I am sharing some of my cards made for the Create and Craft shows in July.

This card features one of the floral images from Honeysuckle Butterfly stamp set.

I started with a piece of watercolour card slightly smaller than DL size. I put some blue Distress Ink onto my mat and spritzed it with water and dipped the card into it. I then dried this thoroughly with my heat gun. I stamped the Daisy image and coloured with the same colour blue Distress Ink, darker in the centre fading to white. I then added some yellow for the centres and green for the leaves. I finished by adding some clear sparkle over the flowers and adding a sentiment. I added a narrow mat of black card and layered onto my DL card base.


My next card uses an 8x8 card base. I cut a piece of smooth card about 2 inches smaller and stamped the Briar Rose image in Memento Ink. I then coloured with alcohol markers. I added some stencilling in the background with Distress Ink and a sentiment and mat and layered onto my card base.


My next card uses the leafy stamps from all the sets - Briar Rose, Harebell, Thistle and Honeysuckle Butterfly and these are available as a multi buy. I used my stamping platform to position my stamps and then placed a die cut with a sentiment in the centre. I used a sand coloured piece of card and green archival ink. I also notched out the corners with a punch.


My last card today uses butterflies from all the sets too.  I made a pop up box card with my cutting machine and covered the panels with Black and White papers. I then stamped and fussy cut the butterflies (replacing the antennae with wire) and added a few die cut leaves.


Thanks for looking

Sandra x

Sunday, 28 March 2021

Mixing it Up

 Hello

I am sharing the last of my samples from the February show on Hochanda.

As we all know, Chocolate Baroque make the best stamps for card making, but they can also be used for many other things. Here are a few items I have made from Harebell Butterfly, Thistle Butterfly, Honeysuckle Butterfly and Briar Rose Butterfly stamp sets. 

My first is a mini album using the Butterflies and foliage from the sets. I used acrylic paints on the covers and Distress inks and stencils inside. I used lots of quotes, mainly from Words of Inspiration


Next, I have a grey board die cut which I covered with wood effect paper. I stamped and fussy cut two of the butterflies and added "No3" from Lupin Blueprint


This is a MDF piece which I have covered in Black and White Papers and sponged some acrylic paint around the edges in blue, green and copper. I then fussy cut some of the butterflies and coloured in more muted shades to resemble moths. I stamped the word "moth" using Distressed Alphabet Lower Case. I then added a die cut lamp post for the moths to flutter around!
 

My last piece is a round MDF coaster to which I have added self adhesive cork. Even though this was quite thick, I was still able to use my stamping platform to stamp the leafy sprig from Thistle Butterfly  into a wreath. I stamped the butterfly in the centre, but it didn't show up too well, so I stamped it onto one of the blank sheets in the Black and White paper pack and used a gel medium to stick it over the stamped image. I finished by using a white paint pen to highlight the berries and the butterfly. I used a matt varnish to seal it.


Thanks for looking.

Sandra x

Tuesday, 23 March 2021

A little bit of sewing by Rachel

 Hello there! Rachel here today with my third and final installment from the February shows. This first piece gave me lots of joy in the making. I used a piece of calico and stamped on it using the main honeysuckle butterfly image in versafine ink. I then painted it using translucent paints and then I got my needle out and simply stitched around the outline of the flowers plus the stamens. I then added the ring and folded the extra fabric into the back and covered it with felt to make a small hanging picture.


This next piece was made using one of the wooden plaque/signs from the website. First I used gel medium to adhere one of the black and white papers to the plaque then stamped butterflies from the butterfly blush using pink ink onto card and then overstamped using the corresponding stamps from the just butterflies set before fussy cutting.

This final accordion card was made using all of the butterfly floral stamps each stamped in versamark on black card and set with white embossing powder and then roughly cut out and mounted onto black and white papers.


Hope you have a lovely day - I will see you next month!
Hugs
Rachel xx


Tuesday, 16 March 2021

Bold and Beautiful Butterflies (by Judith)

Hello everyone, I am sharing more butterfly cards with you, following on from my last post. Butterflies are such a universally popular image, and I hope that you will enjoy what I have to share with you today.

I created my first card using the Just Butterflies and Butterfly Blush stamp sets. I coloured a piece of drawing cartridge using Distress Oxides and then stamped some of the butterflies from Butterfly Blush using Versafine Clair. I added some white dots using charcoal through a stencil, however, you could achieve a very similar look by using white paint and one of the dotty stamps from Make Your Mark.

I added some texture paste to a piece of MDF, and once it was dry added some paint and gilding wax. I stamped and embossed the butterflies, cut them out and layered them up onto the panel. The sentiment from Butterfly Mind was stamped onto a spare piece of background.

The following two cards are older projects, but once again, I hope that you do not mind me sharing them with you. I masked off  the edges of the cards, and added Distress Ink in the centre of the cards. I was aiming for aurora borealis effect, and hopefully achieved that feeling in these cards. I added water splatters, and then stamped the foliage from Briar Rose Butterfly along the bottom using black ink. The butterflies were stamped onto sparkly acetate using Archival Ink and I added coloured vellum to the back, but you could just stamp them onto card, colour them as normal and use a sparkly pen over the top to achieve a similar look. The sentiments come from the Birthday Words stamp set.
 

By changing the colours and foliage, you can create a completely different look, these are really pretty and would make a nice set to give as a gift as well.


Thanks for stopping by, stay safe and take care,


Judith xx


Sunday, 7 March 2021

Beautiful Florals

Hello, I am here today to share some of my cards made for the February show on Hochanda.

These cards feature the main image from Harebell Butterfly, Thistle Butterfly, Honeysuckle Butterfly and Briar Rose Butterfly

My first card I've kept quite simple. I've stamped with Black Archival ink and used watercolour pencils in shades of blue. I've added a sentiment from Patchwork Butterfly and some black and white layers


My next cards use watercolour pencils and markers. I've used stencils in the background and blended around the edges with Distress Inks. I have finished with a sentiments from Artistic Expressions and Artistic Affirmations


Thanks for looking, I'll be back with some more soon.
Sandra x

Friday, 5 March 2021

All about the Butterflies (by Judith)

Hello everyone, I have some projects to share with you today created with some beautiful butterfly images that we brought to Hochanda last month. My first card was created fairly quickly using a piece of drawing cartridge, onto which I drew a circle with a pencil. I chose several colours of Versafine Clair in shades of blue and green and stamped an image from the Thistle Butterfly stamp set around the circle. I stamped each colour five times, to ensure an even coverage, varying the direction that I stamped to make the foliage appear more natural. Although these colours are not necessarily true to nature, I love how they turned out.


Once I had finished the wreath shape, I added some splotches with an image from Just Useful, using some of the same colours that I had used in the wreath. I added a touch of shading around the edge of the background with Distress Ink. I added a sentiment in the centre of the wreath from Birthday Words.


I stamped and embossed three butterflies from across the four sets, I just chose whichever butterflies appealed to me most, to be honest. I used some of Lesley's A5 Doubled Sided Designer Papers, they are so useful for this sort of thing, and will last for ages. I used white embossing powder for a delicate touch.

I am sharing two older projects with you today using the Honeysuckle Butterfly stamp set. These two projects were really fun to create, so I hope that you don't mind seeing them again. The first was a canvas that I made using a sheet of old music paper. I painted over the top using a zingy green colour, and decoupaged the image which I had coloured using pencils. I stamped around the edge using Archival Ink. I added lettering to create a collage effect, you could use book paper, die cuts, whatever you have in your stash to create this effect.


This next project is more subtle, but again, I loved creating this one too. I used a Brusho background, and added stamping using an image from the Elegant Edges stamp set around the edge of the background. The butterflies are decoupaged, leaving one wing free for real dimension. This card is just waiting for a sentiment for the right occasion. It would make a lovely Mother's Day card, don't you think?


Thanks for stopping by, take care and stay safe,


Judith xx


Wednesday, 28 November 2018

Stamping on Fabric (by Judith)

Hello everyone, I am here for my final post this month, sharing two projects using the stamps that we showcased on last month's TV shows on Hochanda. This time, I have created my projects using fabric, showing how you can create a quick card, and a decorative panel.

For my first project, I painted a piece of spotty fabric with yellow and green paint, blending the two where they met. I used coloured Archival inks to stamp all of the images, creating a meadow scene in first and second generation stamping, just as I would when creating a card. I added a couple of Butterflies, and then painted the images with Koh-I-Noor paints and a waterbrush.

For the larger panel, I used the large corner stamp from the Butterfly Daisy Collage stamp set, and stamped around the edge of a piece of patterned fabric, overlapping the image as I went along. Again, I used coloured Archival Ink. I used iron on interfacing on the back of both pieces of fabric, fraying the edges of the top panel, and adding rust coloured ink to the bottom panel. I used a thick piece of greyboard as a base.

I had a piece of the spotty material left over from my first project, and stamped two of the large butterflies from the Butterfly Daisy Collage stamp set onto the fabric, adding shading with the Koh-I-Noor paints. I also stamped some words from the Amazing Mackintosh Words stamp set, and frayed the edges of the little panels.

I created a wrinkle free distress panel using tones of green and yellow on a piece of watercolour card for a background. I stamped a leafy sprig in second generation stamping randomly over the background. To complete the card, I used a small piece of eco printed fabric, with a lovely leaf printed in the centre.

Thanks for stopping by,

Judith xx

Sunday, 25 November 2018

Let the Adventure Begin by Brenda


Morning all, Brenda here with my last post for November featuring lots of lovely Butterfly stamps.

For the card above I used one of the images from Butterfly Daisy Collage, stamping with Versafine black onto a Distress Ink background, quickly created by randomly brushing three different colours. The harlequins on the background layer are from Decorative Edges and the sentiment from Artistic Affirmations.


A little wall hanging using Briar Rose Butterfly stamped onto a piece of  stamp board which I first coloured with Distress Inks and added some stencilling using Useful Leaves. The image is coloured with Distress Pens and mounted onto a piece of hessian and some beads added to decorate.


I used a rattan heart shape to create this piece stamping images from Butterfly Daisy Collage onto different coloured vellum's using Versafine and detail white embossing powder.  After cutting out I layered the flowers, added a few ready made flowers and leaves from Tangled Garden which are also stamped onto coloured vellum and heat embossed.


This one features Harebell Butterfly stamped onto a background of Distress Ink which then had some of the coloured removed by sponging diluted bleach through a stencil. The image is coloured in with Distress Pens.

Many thanks as always for taking a peek at today's post.

Thursday, 22 November 2018

Summer Butterflies (by Julie)

Hello, today I have two more cards with a butterfly theme.


My first card is stamped with Thistle Butterfly The background of this card is created with Distress inks applied with baby wipes. Just simply dab your chosen distress ink onto a fresh baby wipe and wipe in the direction you want the ink to go. In this case just apply your wipe in straight lines from top to bottom.
Once your background is dry ink up your curved leaf design with a light green dye ink and stamp in the centre to create a circle. If you start with your lightest colour and then work up to your darker colour so any overlapping doesn't look messy.
Stamp your butterflies onto spare card. Colour with Distress ink, cut out and attach to your card front with 3d foam pads.
The sentiment is from Paisley Elephant.


My second card is stamped with Harebell Butterfly From each corner I have stamped the single stalk flower with a purple dye ink, so it makes a sort of L shape, backwards or forwards depending on what side you are looking. I then filled the gap between the flower heads with a little lilac butterfly.
I then went over the background with Antique Linen Distress ink. On separate stamp card I stamped the grasses and flowers, coloured with pencils and Distress inks, inked the edges with a purple dye ink and attached to the centre of the card. The card was finished off with crystal, flat backed gems and a stamped butterfly.

Thank you for taking a peek and please call back for daily Design Team inspiration.

Julie xx

Wednesday, 21 November 2018

Fun with lift ink and a journal (by Rachel)


Hello there! Rachel here with some more inspirtion for you from the shows in October. This time I have chosen to share my sample I made using alcohol ink and lift ink..I really enjoyed making this one as I love the concept of stamping in alcohol ink. And I really like the ghosting effect. 

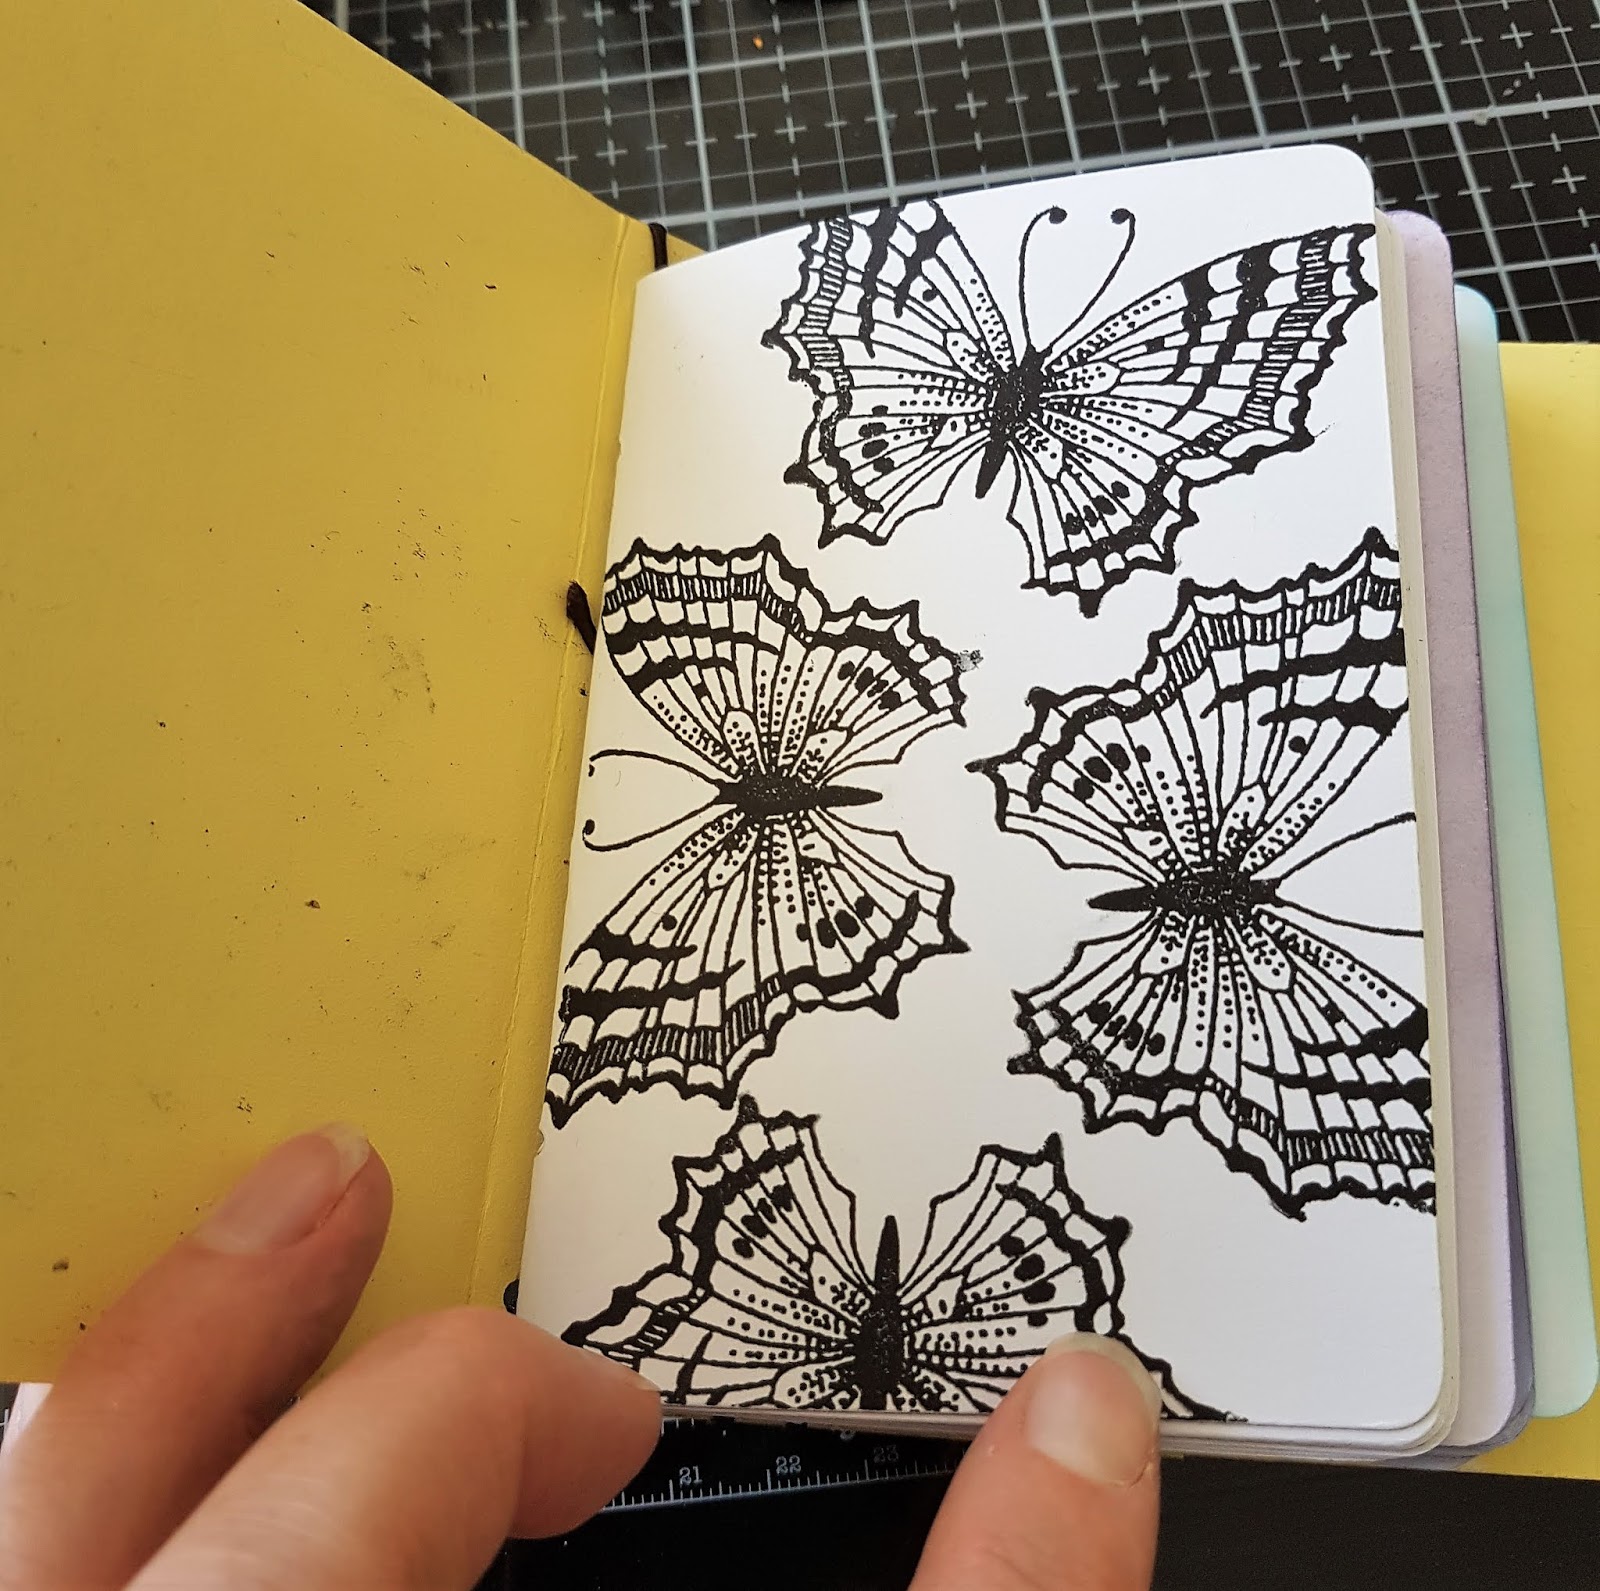
Secondly I wanted to share a journal I created and decorated using the Harebell Butterfly stamp set. 


This is the back of the journal where I did some repeat stamping and colouring with pencils.


This is another part of the journal where I added some more stamps from this set ...


This is the journal front cover all stamped and coloured...


I even added some stamping to the front of the signatures too. This was a watercolour signature I think! 

I hope this has given you more food for thought of ways to use your stamps!

Big hugs

Rachel xxx